Why I ran…
I can’t remember a time that I did not run since high school…a couple of miles here and there for exercise. I ran my first 5K in Maryland in 2002, but I didn’t start running races regularly until 2009 when a few good friends and I started running and completed a half marathon in Baltimore. I don’t remember getting “hooked” at the time, but once I ran the half, I wanted to sign up for one again and again- to get better times, to get the satisfaction of finishing and ultimately to make connections during the journey to the race. The latter is what keeps me coming back again and again and what solidified the decision to run a marathon. I am so blessed to have a group of “running ” friends who started out as a run club and now we do life together. My dear friend Beth ran her first marathon last year in Chicago with Team World Vision and was out to recruit friends to run with her this year. I said yes because it was something I always wanted to do “sometime” when the time was right and I was very skillful in making excuses why now was not the right time. I’m too busy, I want to get faster, I should lose some weight first, I can’t afford to get injured now, what if I fail?…. Well, this was the year that my excuses stopped in many aspects of my life. I stopped “wanting” to do things this year and actually starting doing things. I came to the realization that it does not have to be perfect, I just need to start and the rest will come. Friends were being brave all around me in aspects in their lives, so why can’t I? I also loved the idea of running for Team World Vision and raising money for clean water in Africa. It gave a greater purpose to the race and I was so happy to be making an impact on lives on the other side of the world. So the journey to 26.2 began.
The training…

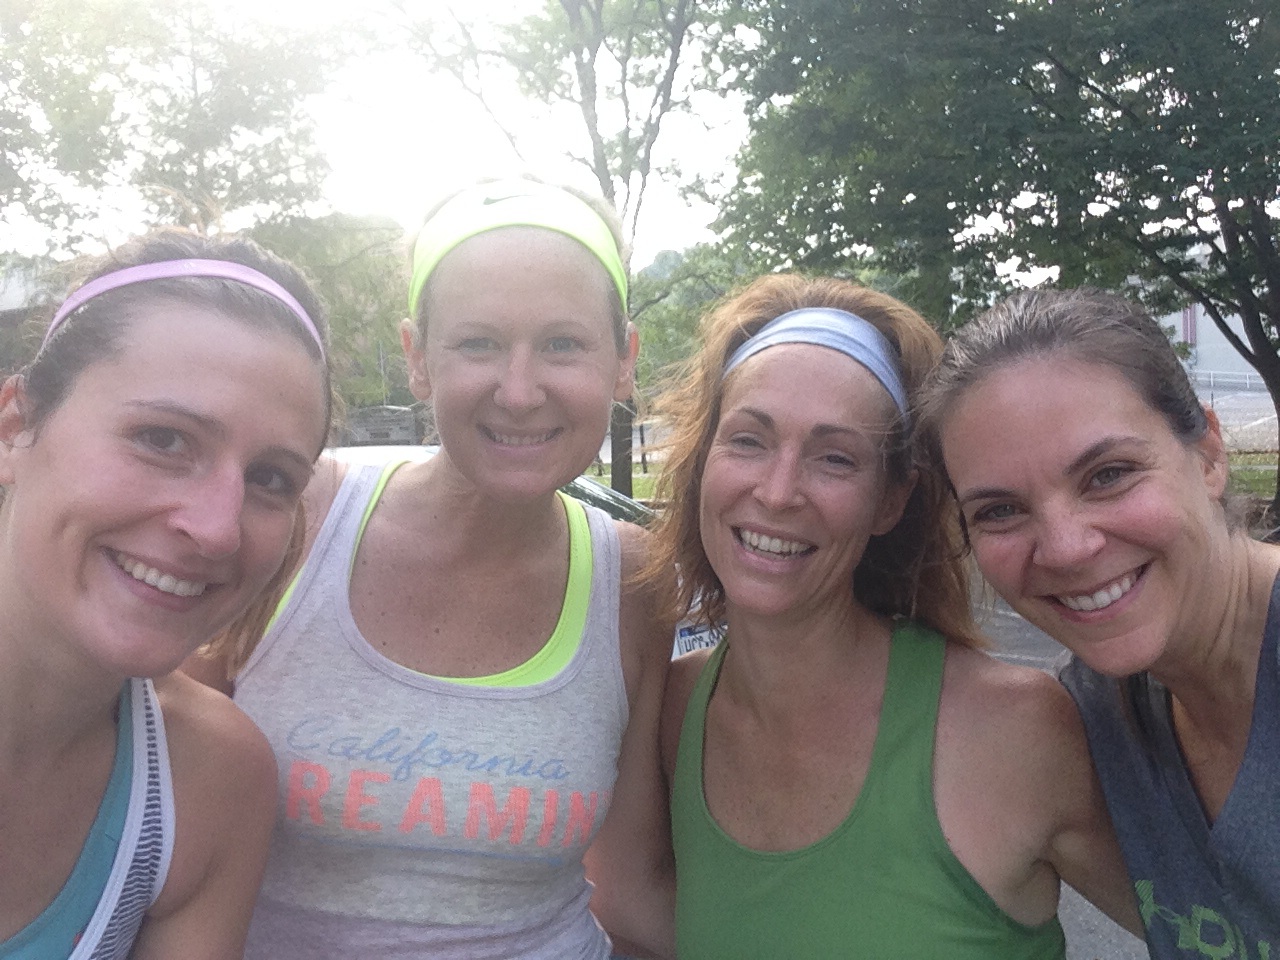
After our 20 miler
Not only did I have 3 amazing friends to train with, we also raised money together for clean water. We organized a gala, sold t-shirts, had a garage sale, created a hashtag (learned what a hashtag was) and we RAN. We ran a lot. We ran on days that we had to be at work at 7AM, but still had to get in 8 miles before. We ran when we were tired, we ran when it was hot, we ran at night when we get just needed to get the miles in, we ran in the dark in those early morning hours in September and October, we ran alone when we were traveling and texted to see how the others were doing. We prayed for each other when we lost motivation or felt a cold coming on. I could not have done the 18 weeks of training without Beth, Jocelyn and Maureen. A fellow marathoner told me “Get to the start line and then get to the finish line”. This summer and the 18 weeks of training got me to the start line. I still don’t know how I did it all. Now that I was there, I was terrified.
Race weekend…
We were on our way to Chicago. The first day was about getting to the expo, picking up our packet and having a dinner with Team World Vision. The dinner was amazing and inspiring and the speakers who spoke that night talked about the impact we had on people in Africa. How children, mostly girls, had to walk an average of 3-4 miles each day to get water that was dirty. This prevented them from going to school. The Team World Vision Chicago raised money to provide 26,000 people with access to clean water. That is huge and I was so proud to be a part of that. The take away that I got from the dinner was to “Turn Love into Action”. We turned our hearts for helping others into action by raising money and running this race. Hopefully it won’t stop there, and others will be inspired to do the same just like Beth got 3 friends to run with her this year. With the images of people across the world who have unbelievably hard lives, we knew that our pain and discomfort during the race was temporary and they live with pain and discomfort from dirty water all the time. A couple hours of running didn’t seem like such a hardship now.
Race day….

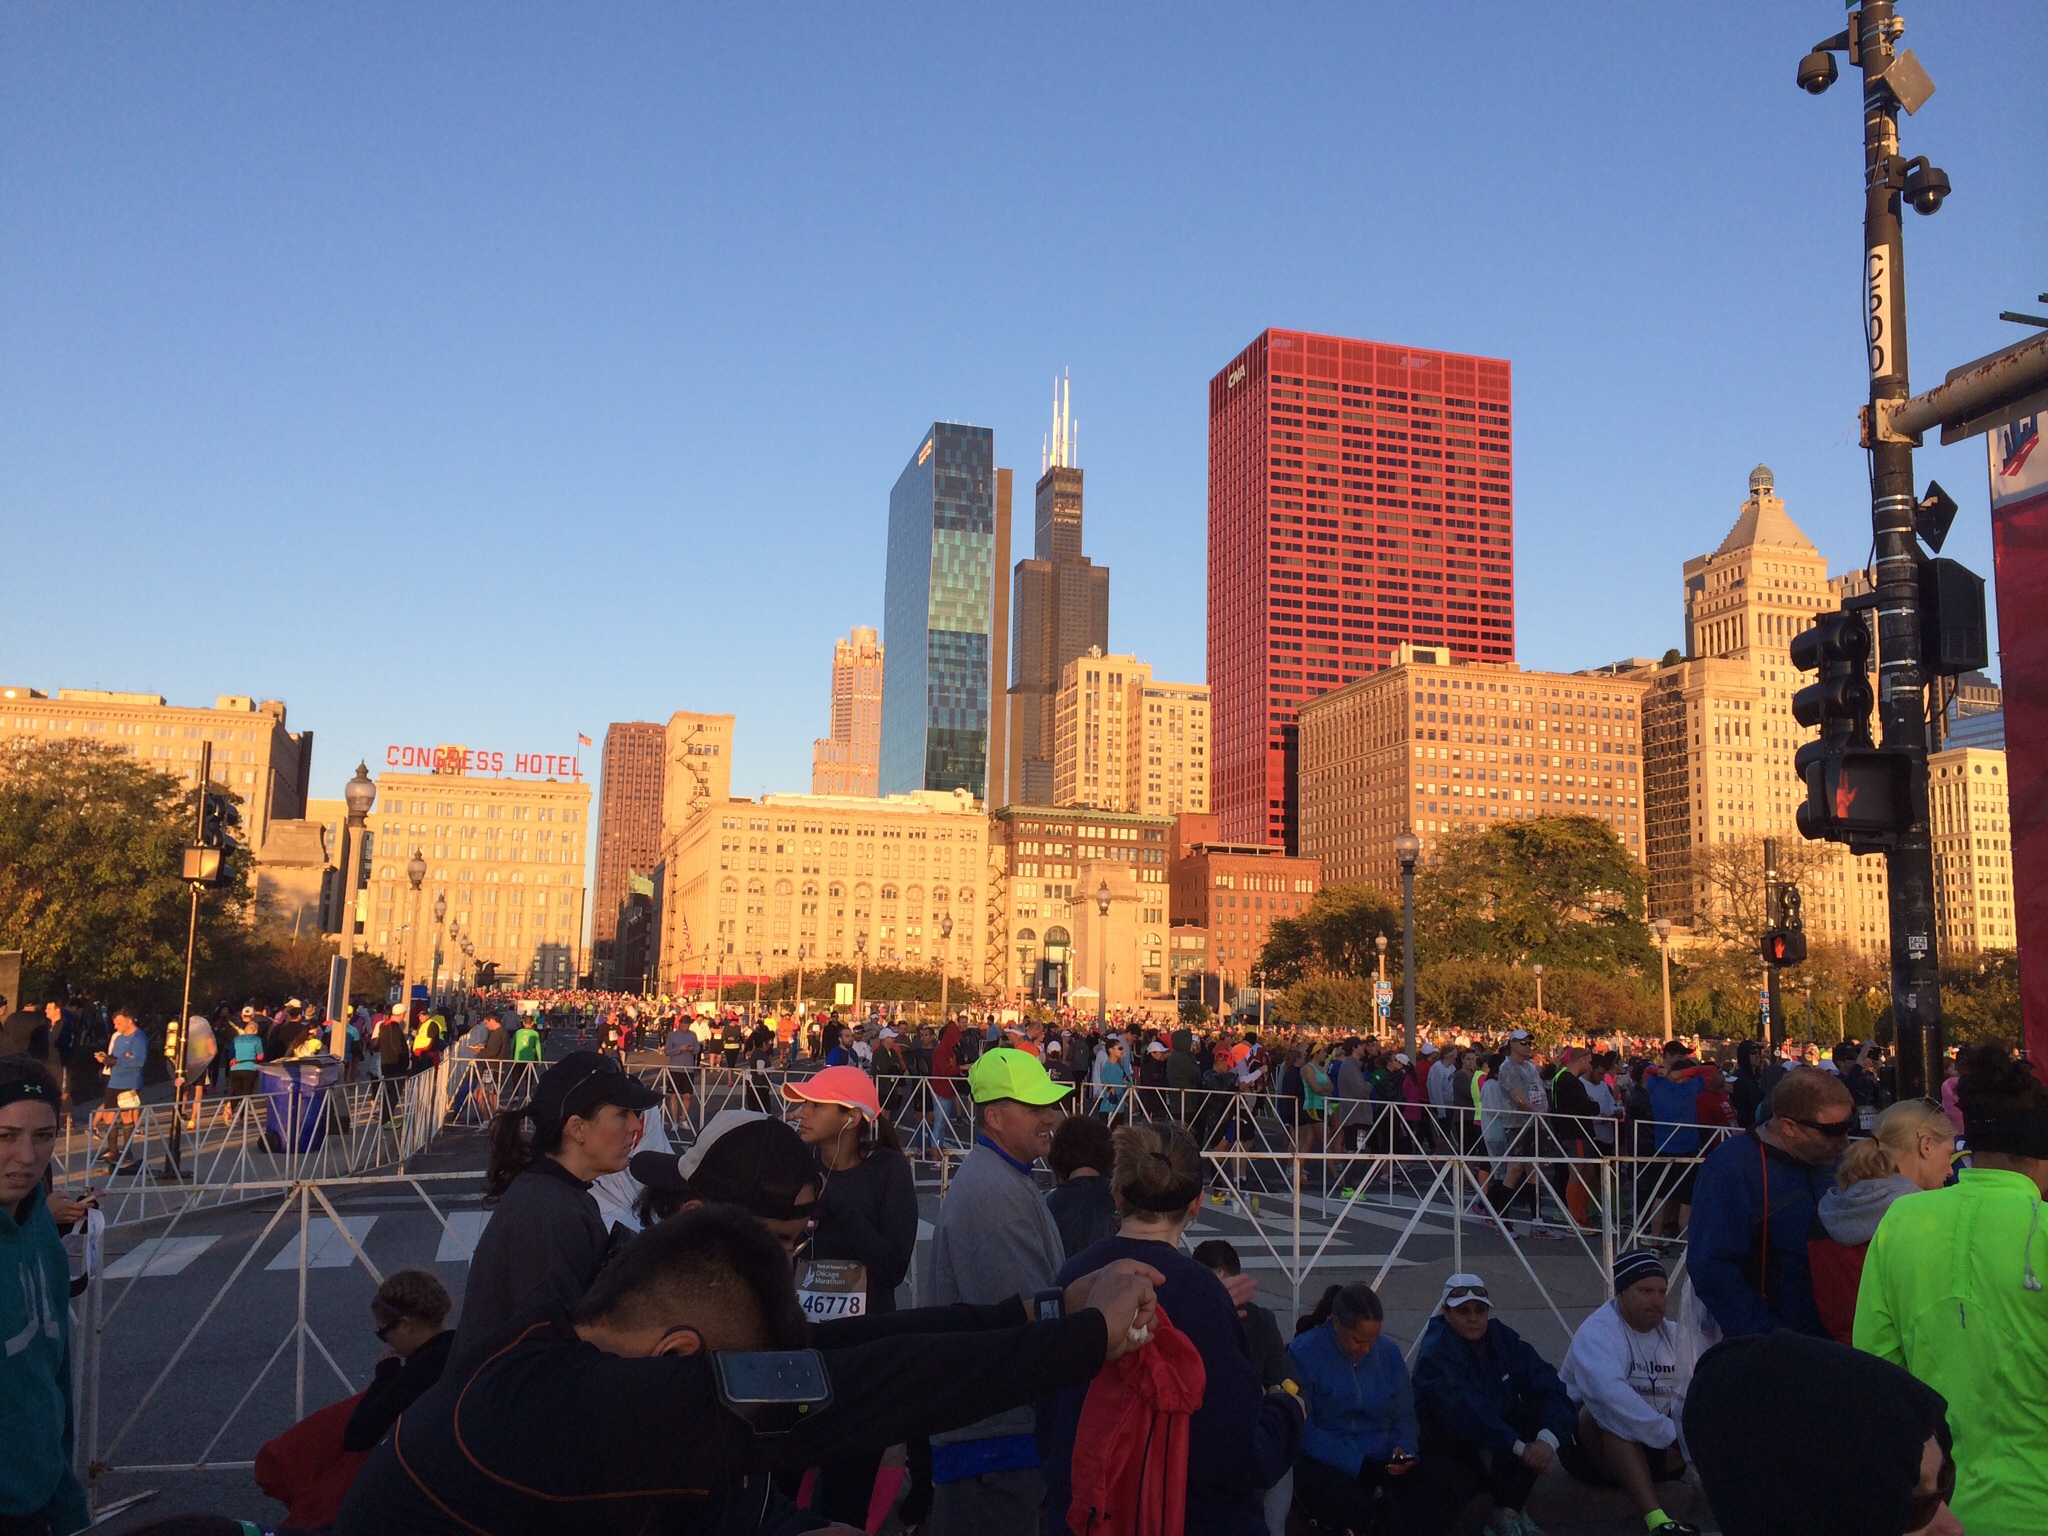
Walking to the start corrals from the Team World Vision Tent

Waiting to start
We had a 5:45AM Team Word Vision pep rally to attend. We loaded on the train packed with runners. The energy and nerves were palatable. The Team World Vision tent was bursting with energy with last minute preparations, affirmations, a team cheer, prayer and song. It was so awesome to be there, but the looming 26.2 made it difficult for me to concentrate. We made our way to the start corrals and stood and waited. I got cold and stiff and nerves were completely taking over. I got through it because Beth was by my side having done this a year before. We left the hotel at 5:15AM and I didn’t cross the start line until 8:20. Finally the start came and the first two miles I was numb with nerves, cold and stiffness from all of the standing. I saw Steve at mile 1 and 3 realized how much it will mean to be looking for him in the miles to come. I knew the next time wouldn’t be until 11. The crowds were amazing, lining the streets and cheering. I was just in total awe of being in that city, running this race. I was running with Beth and keeping a decent pace. I wanted to keep the pace until we saw our husbands again at 11. Then I wanted to keep up until the half way point. At 13.1, I felt good about the pace, but I was starting to slow. My legs were starting to really ache. My stomach was turning because of the chews and Gatorade. I kept thinking how many more miles I had to run. I tired to focus on the signs and other runners- anything to keep my mind off the pain and looming miles ahead. I saw runners running in honor and memory of loved ones, I saw a blind runner, a saw a women on the side cheering wearing a pink shirt who had no hair, I saw runners running for charities and I’m sure if I could have focused more, I would have noticed more. More people overcoming adversities much bigger than mine. I didn’t have these problems, I just had to endure some pain for a few hours. It would go away, and theirs won’t.
I loved seeing the signs and the loved ones cheering for their runners. Of course my favorite was my husband with his iPhone taking a video as I run by or standing with a sign that simply said “Go #runforlifelancaster” cheering fiercely telling me I could do this standing alongside Scott with his red Phillies hat and camera at the ready. But some of my other favorites were “Keep Calm and Run a Marathon”, “Do Epic Shit”, “Pain is Temporary, Quitting is Forever” using them as mantras as I put one foot in front of the other. And that is what I did when I had 10 miles to go and then 6 miles to go, 2 miles to go, kept putting one foot in front of the other. Praying, giving thanks, watching the kids cheer for their parent, parents cheering for their kids, trying to be a role model to my own kids and family who were keeping track of my steps from afar. It was really hard to get through the last couple of miles, but I didn’t have any doubt that I would make it. I just kept focusing on the finish line and knowing I would be there sooner or later. Then in mile 25 the pain was real and my legs didn’t want to go anymore and I started to walk…with the streets lined with cheering and runners laboring on all around me. A fellow Team World Vision runner came up behind me and grabbed my shoulders and said no, that I was not going to walk now. I was going to keep running because we had less than a mile and I could do this. I took her hand and said thank you and kept running with tears in my eyes. Realizing that one stranger, saying a few encouraging words can make a world of difference. I ran to the finish line.
After the race…

The finish line behind me, I had to get through the mobs of delirious runners grabbing for their metal, water and snacks. My legs were cramping and I just wanted to see my people. I didn’t really know where I was, I forgot how to get to the charity tent even though we were told several times make three lefts, I somehow could not muster up that information. I finally made it to Beth, Jocelyn, Maureen and our families at the charity tent so relieved that it was done and we were together again. That night we had the most amazing celebratory dinner at a restaurant in Chicago called Quartino and reflected on the race and our journey. I wouldn’t have changed a thing about the whole experience. Really, the race was about the connections and journey there and finishing was just the icing on the cake. And that’s why I keep going back, keep signing up for races. Not to PR or get another metal to add to my collection. It’s about the journey there and the new things I learn each and every time. Everyone asks “Will I run another marathon?” And as long as I have friends by my side and my health, the answer is an unequivocal yes. I will run another.
Some things I learned along the way:
*If you want to do something, just start. The rest will come, take the first step and you will get there. It might not be perfect, but you will learn along the way.
*No more excuses, step up and DO
*Turn Love into Action
*Do more Epic Shit
*Say a kind word to a stranger; you never know how that will change the course of their day
*Relish the journey